How To Wrap a Gift
At The Attic on Eighth, we thrive on the comfort of small pleasures. A good cup of coffee, a curated book shelf, a walk through the park. As we grow individually, we share these pleasures, and how to achieve them, with each other and now with you. After all, we are nothing less than perfectionists, and the best way to enjoy anything for us comes at least a little bit in knowing how to do it flawlessly. In this third volume to our official How To series, Attic writer M.A. McCuen shares tips and tricks to wrapping gifts calmly and beautifully.

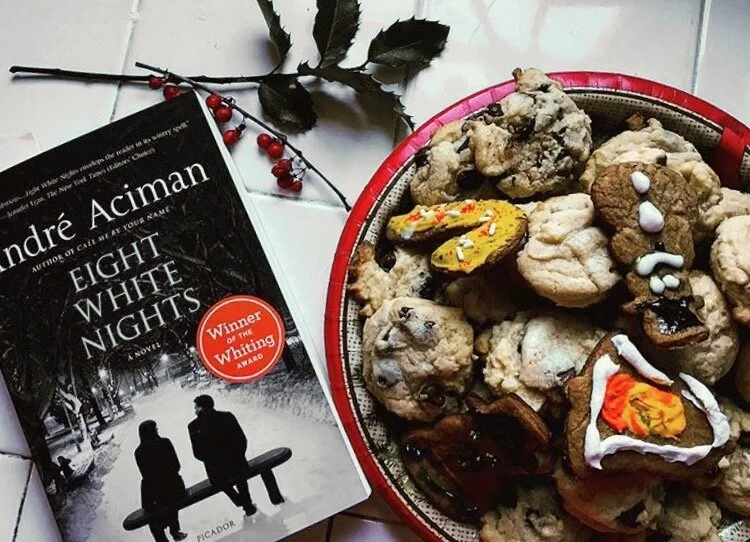
All photos by M.A. McCuen.
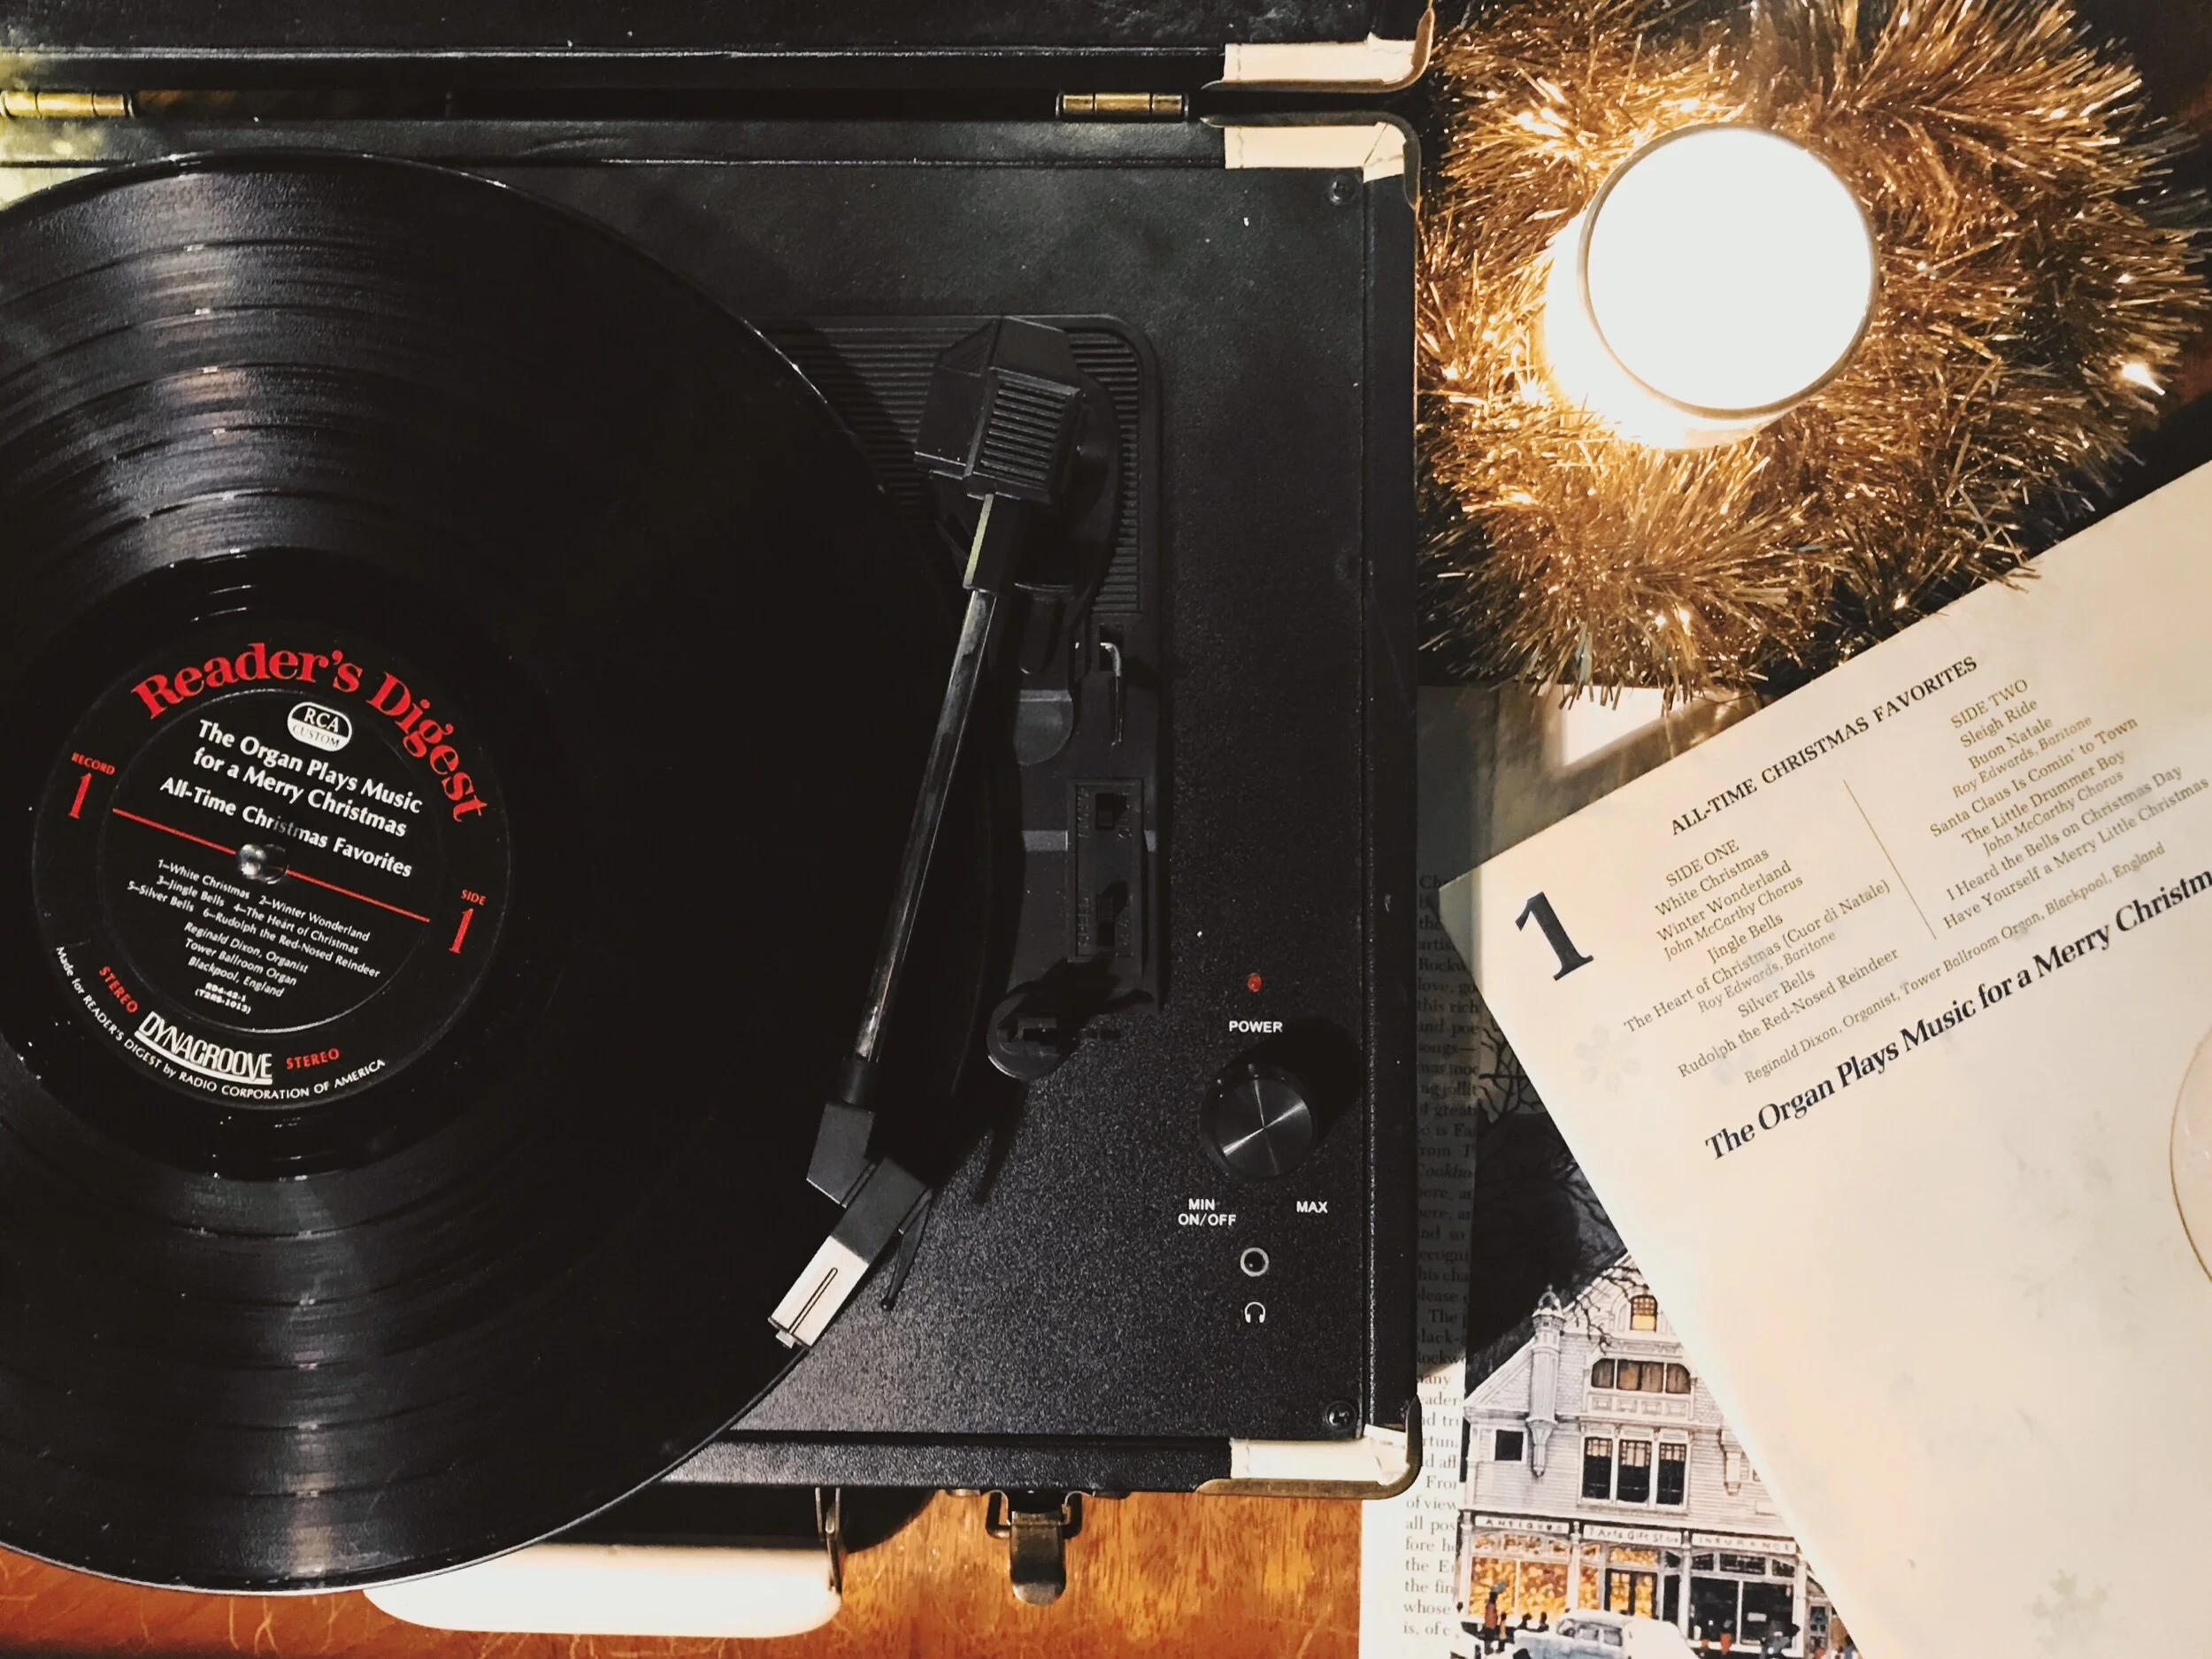
Holidays mean brown, cardboard packages piling up on the doorstep, trips to favorite local business, and the season of gift giving launching into full gear. Wrapping all the gifts, and making them look good, can be a very daunting task. In my house, we’ve set up at mini-gift wrapping station complete with wrapping paper, ribbon, bows, gift tags, tap, and scissors, and tape. For the last few weeks, my roommates and I have been in a constant rotation through the wrapping area, putting together gifts for our families, friends, and colleagues. I personally love the process of wrapping a present. It’s always cozy to make a holiday drink, put on some Christmas music, and dive into wrapping gifts.
I consider my dad an expert in gift wrapping. His presents always look neat and unrumpled under the tree. I can often be too impatient for wrapping things tidily, wanting to rush ahead to the ribbons, bows, and extras. So for this article, I asked my dad to walk me through his directions for getting the gift wrapped smartly. With gift wrapping, it’s important to slow down and take your time, making sure you get each crease clean and right. While it’s a challenge for me, I recommend taking the extra time and effort. It pays off afterwards when you have a nice canvas for your boundless decorating creativity. I’m going to lay out some simple and practical steps for wrapping a gift, as my dad says, “that doesn’t look like an 8-year-old wrapped it.” After I’ll give some creative ideas to change things up and make your presents unique!

Basic Wrapping Directions

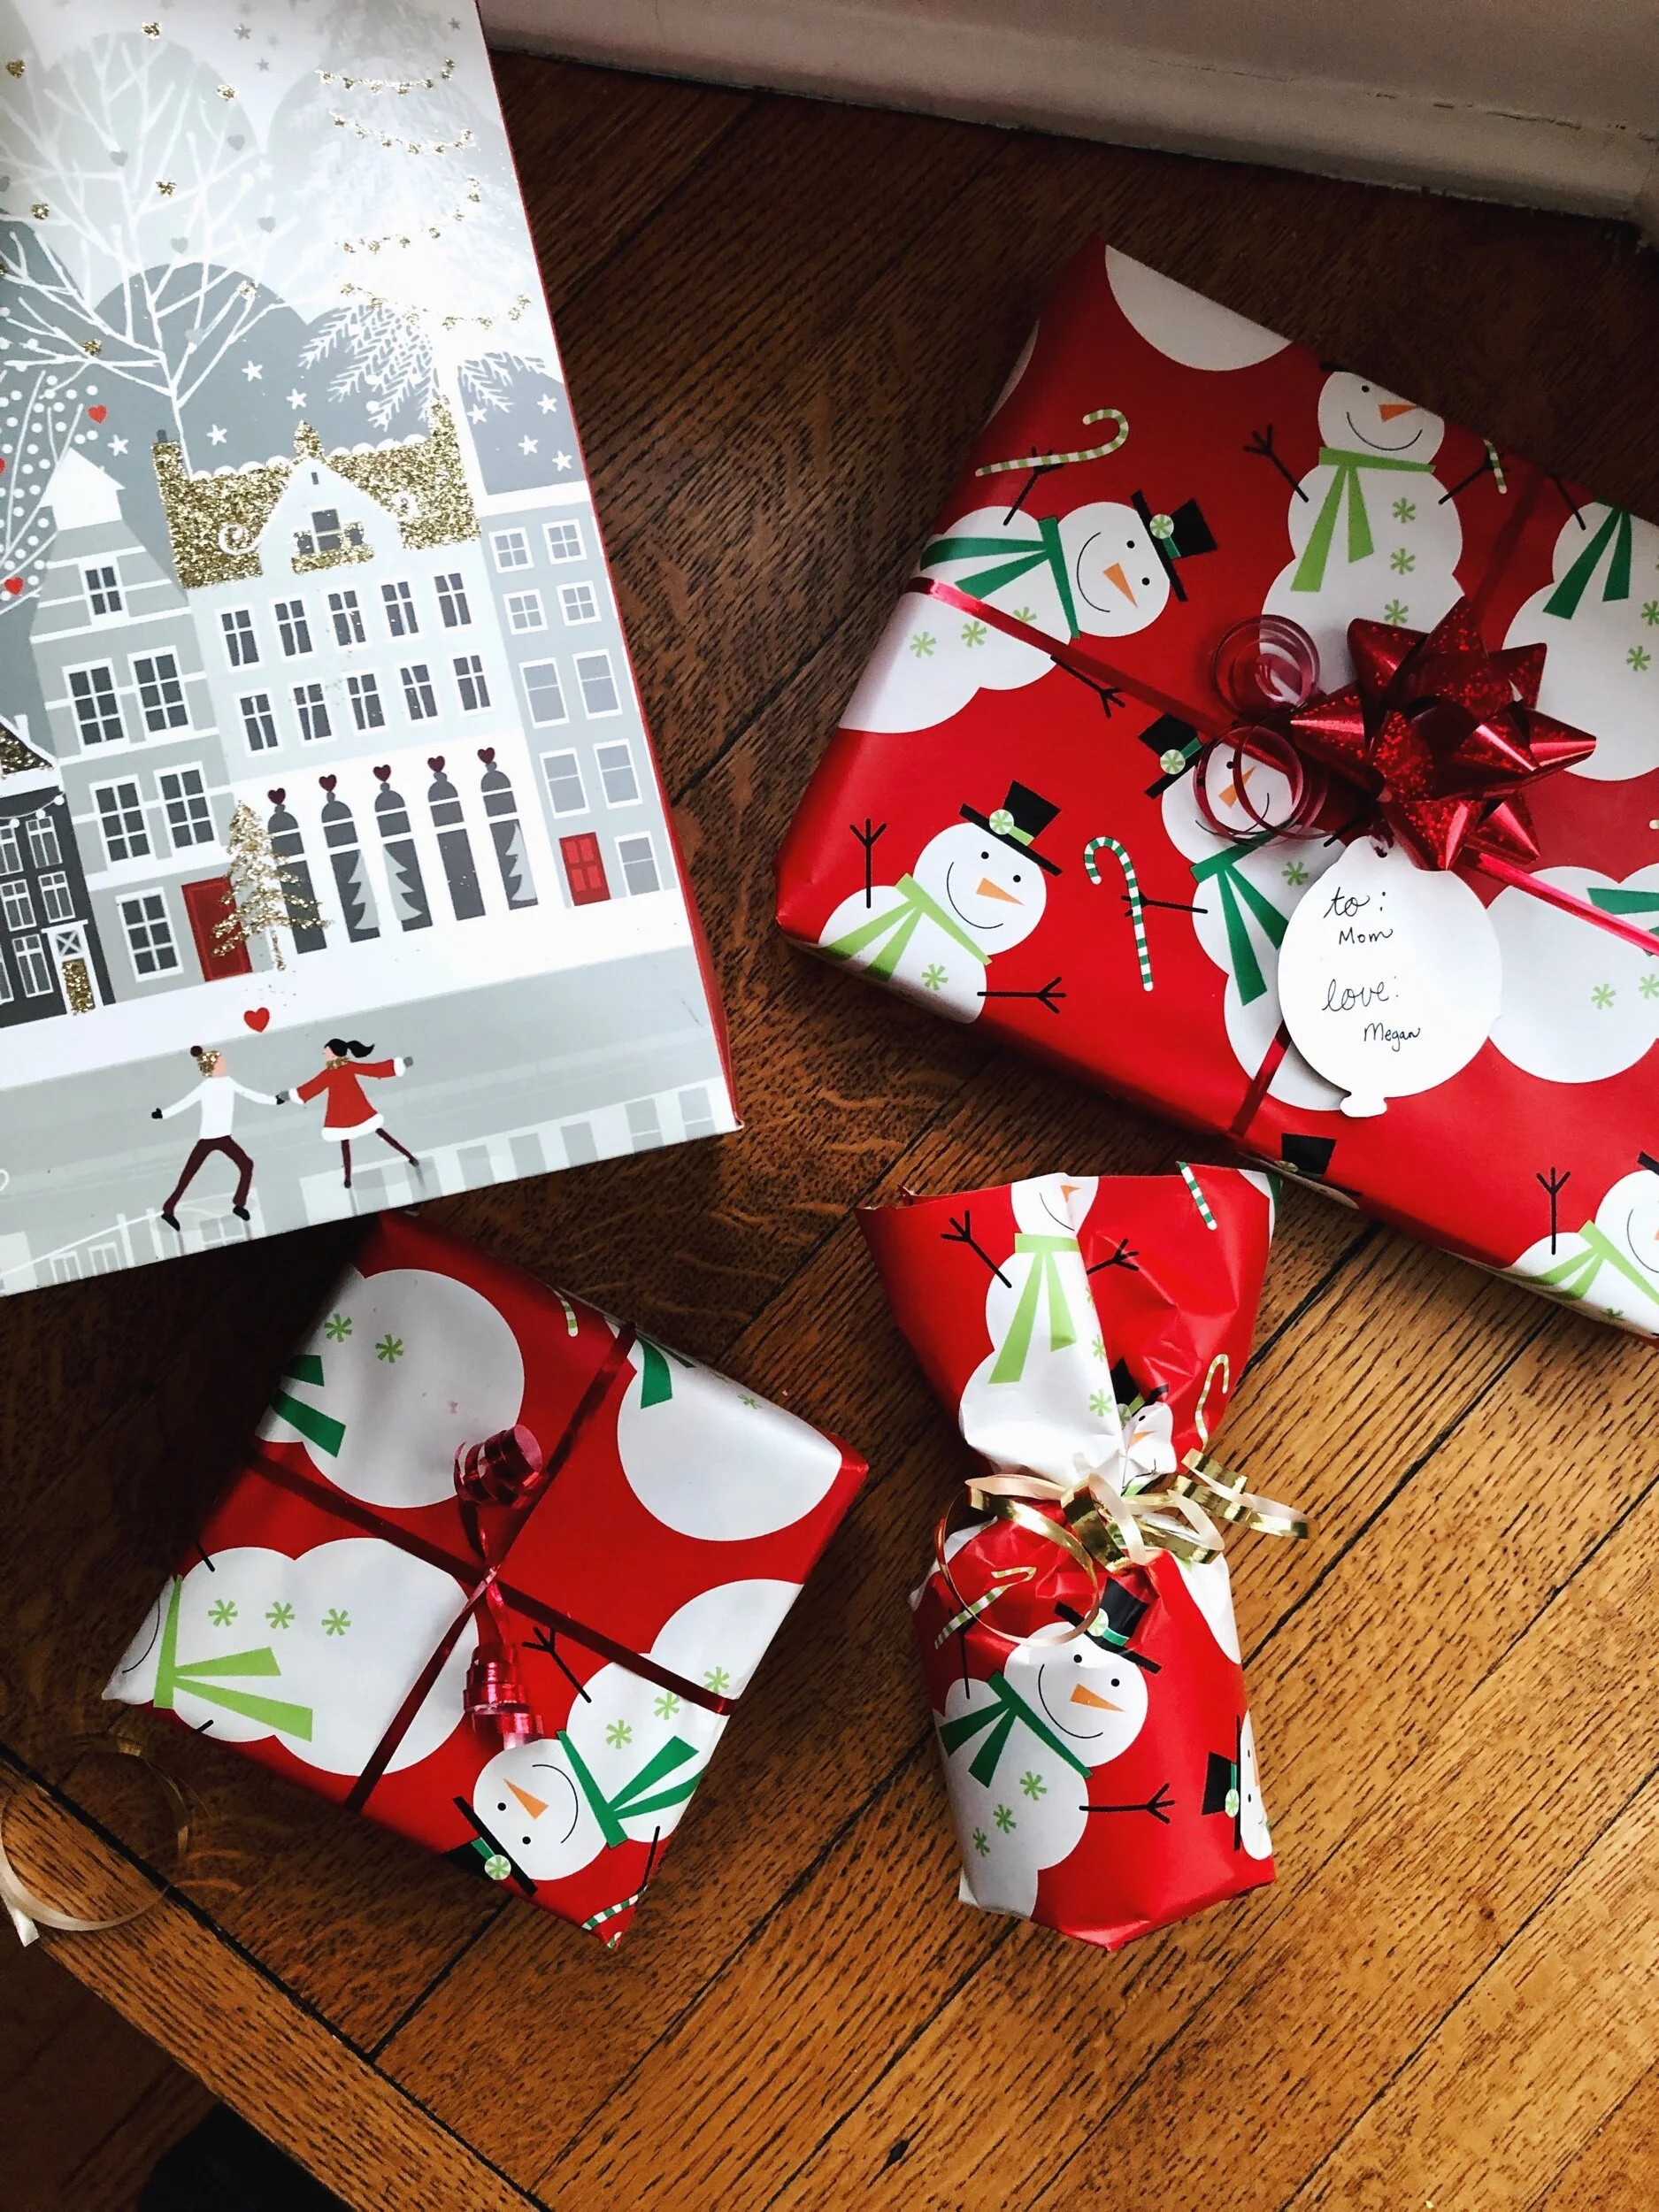
Place your gift on wrapping paper. Before making any cuts, the best thing to do is “practice wrap” it by making sure the paper will cover it. If you have multiple gifts, you should try to see if you can use small pieces of wrapping to help cover it up. Taking the time to think through your cuts will help you use the paper more efficiently and avoid awkward gaps on the back of gifts.
Thinking of your box as length by width by height, fold up a piece of wrapping paper to the length of your gift and tape it down. Take the other side and make a firm crease, like a hem, so that it forms a nice clean line. Make sure it still overlaps your first piece of wrapping. Tape it down.
Start on the first side, press against the wrapping sticking up so that it folds into little triangles. At this point, cut away excess wrapping so that you only have enough extra to make a hem and just overlap. Once you make your hem and fold it so it just overlaps, tape it down.
Repeat the same process on the other side.
Cut a very long piece of ribbon. On the side of the gift that is opposite of your lengthwise folding and tape, lie your ribbon across. Flip your box over and cross over your ribbon, before wrapping it around the width of your gift. Tie in a knot (you can have a friend help you, or, if you are dexterous, you can do it yourself).
Open up a pair of scissors. Put the interior side of the scissors against the bit of ribbon closest to the knot. Holding the scissors and ribbon tightly, press the scissors into the ribbon against the length of the ribbon. Repeat as needed until you get tight curls.

In general, any more excess paper will make your present look messier. Aim for tight creases and just enough paper for the cleanest look.

✼
Creative Tips and Ideas
Don’t feel limited to using only wrapping paper. Many of the most creative looks are also much more environmentally-friendly. Newspaper is a great alternative for a vintage look (especially paired with green ribbon or twine). Old scarves can also be used to wrap gifts. Lush sells a line of “knot-wraps,” a line of scarves that can be used as a waste-free alternative to wrap their gifts.
Shapes matter! Rectangles are the easiest things wrap, so I recommend putting non-rectangular items into boxes to wrap them neatly. However, round items like candles can be wrapped by creating a cylinder of wrapping paper around the candle. Then fold over the excess onto the bottom side and take down. On the top, wrap around a piece of ribbon and let the excess stick up (see photo).


Get creative with your bow. There are a lot more creative advanced bows out there on the internet that you can try if you’ve evolved past the basic curl. I love the cute (and EASY) wrapping paper one in this video. Or, if you are feeling extra ambitious, you can try to make this massive bow.


Add something extra. A sprig of evergreen, a few jingle bells a string, or a little ornament can help make your gift look more polished and personalized. One year, I made custom ornaments for each member of my family based on their favorite things and then tied it into the ribbons.

Tags are the perfect touch. I love browsing the aisles for adorable tags for gifts. There are so many cute designs out there and it’s easy to find some that coordinate with your gift. If you are craftier, you can make your own using a bit of scrapbook paper and washi tape. Either way, use your best handwriting to write out your name and the name of the receiver.

M. A. McCuen is a secondary English literature teacher based in Omaha, Nebraska. Originally from Michigan, she has a BA in English and French from University of Notre Dame and a M.Ed from Creighton University. Having previously lived in France and Ireland, she spends her scant free time plotting ways to travel the world on her teachers salary.


Adding to the small joys of February, Attic writer M.A. McCuen shares a handful of romantic comedies that are perfect to read (yes, read!!) at the peak of winter.